 |
| 1/1600 sec. at f7.1 and 100 ISO - Easter Sunday sky |
Today I want to touch on three points regarding picture quality. One is especially important if you want to shoot JPEGs. There have been improvements in the white balance menu and settings.
I nearly always have my white balance set to "Automatic" (AWB) because when shooting RAW you usually change the colors a bit while post-processing anyway. And yet Sony realized that shooting inside as much as you would with such a high-ISO monster, you might want to tell the camera's computer exactly what kind of automatic output you prefer. So they have come up with a way to prioritize the tone when shooting under certain lighting conditions. You can have the traditional AWB working; you can prioritize the ambient lighting (creating a warmer color cast); or you can set it to "white", resulting in a cooler tone. I think this is a great tool!
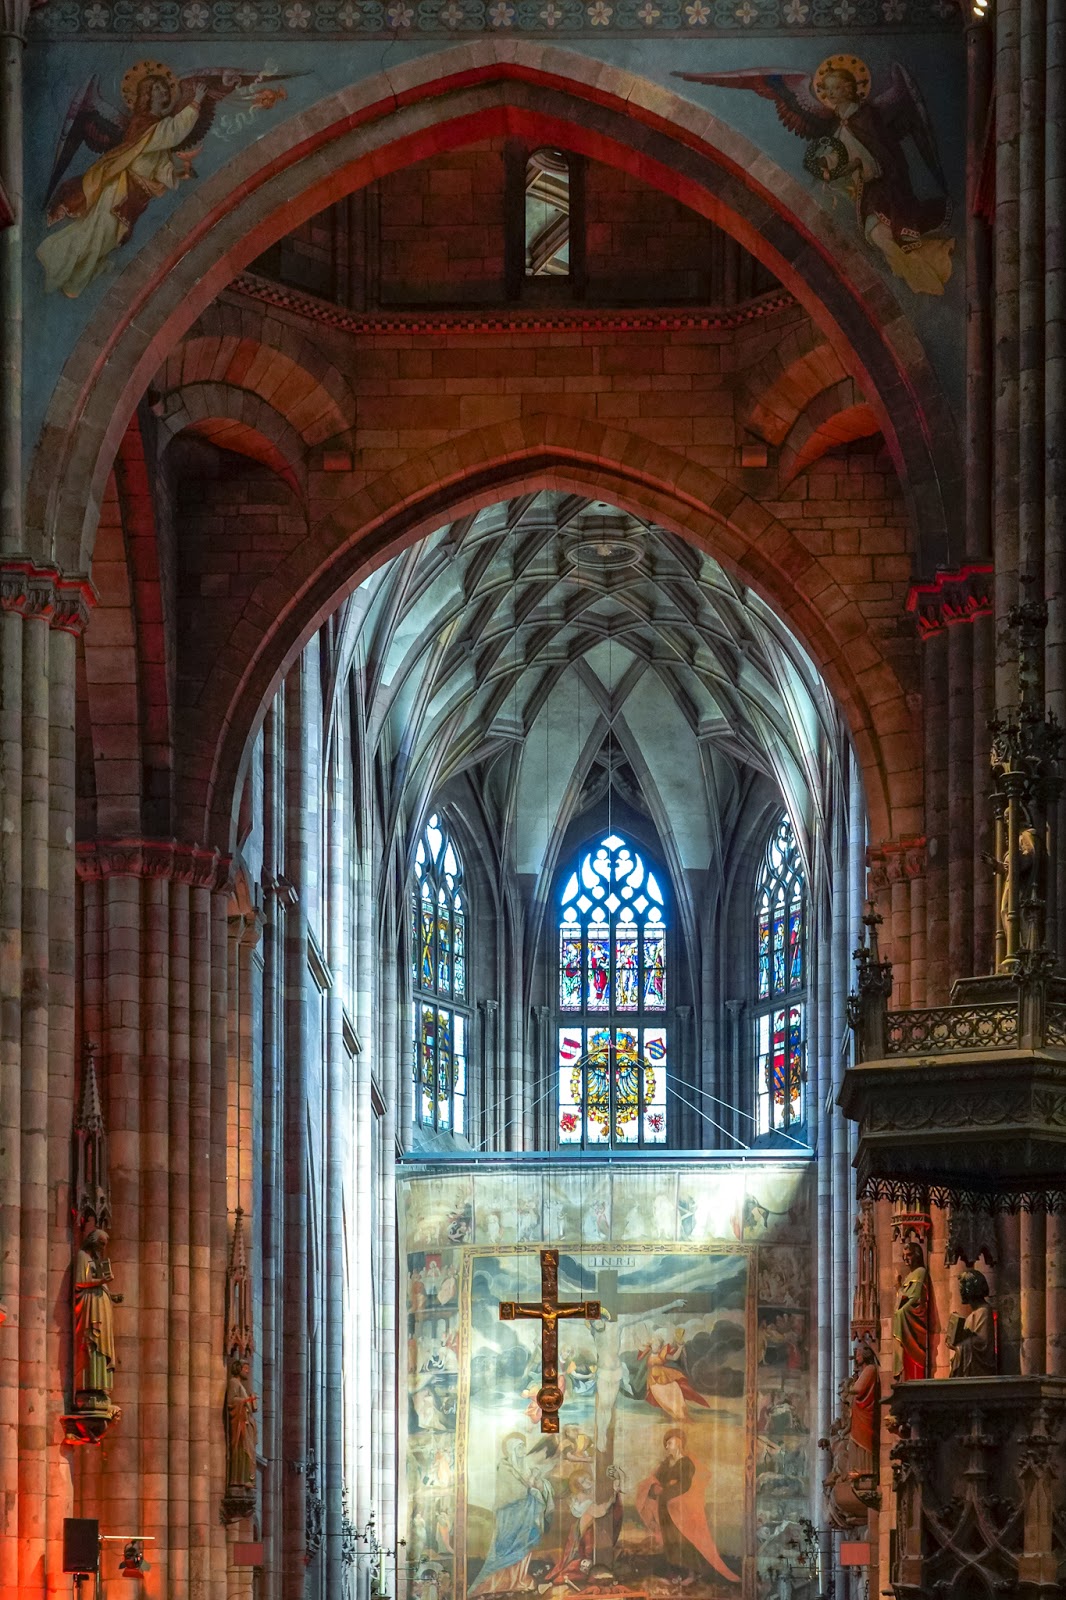 |
| 1/30 sec at f6.3 and 4000 ISO - the Freiburger Münster |
 |
| 1/30 sec. at f4 and 1250 ISO - Brass workshop |
Spot metering is the way digital photographers measure the amount of light needed for a perfect exposure on the chosen motif. No longer do we have to run up to the model or mountain top and hold up a lighting meter to get a good reading of the exposure! This camera can pick a spot and determine how much light is needed for a normal exposure. With the new A7M3 you can coordinate the spot metering point with the focus area even when it is not in the middle of the focus area.
Below is an example of a situation in which I wish I had still been shooting either with both RAW + JPEG or in the spot-metering mode. My cards were filling up, though, and I was taking fast sequences of shots of these birds, so I switched to JPEG only. Unfortunately, the beautiful dark feathers of this hawk were no match for the bright background, which the camera also figured into the "Multi-segment" metering equation.
 |
| 1/3200 sec. at f4 and 100 ISO |
So you can set both the exposure and focus areas for the shot you are about to take. Speaking of the focus area, you can set the camera to prioritize focusing on faces when in the wide or zone focus area settings. That's often a good idea when you are shooting people in landscapes, but look what happens when you aren't!
 |
| Both photos were taken at 1/640 sec., f5 and 400 ISO - Sea lion feeding time at the Wilhelma |

Finally, for those of you who don't want to guess which exposure might be best in the end, you can set the drive to "Bracket". Now this is nothing new except that Sony has now expanded your bracketing capabilities from three or five images to nine! Together with the 14-bit uncompressed RAW files, this ability to capture a nine-image series of varying exposures will enable you to put together some incredible landscapes! On the other hand, I have seen few situations where I've needed the bracketing. A RAW file is so flexible that you can usually brighten the shadows and tame the highlights to have as good a result as a three-shot, four-stop bracket could give you.
 |
| 1/500 sec. at f8 and 320 ISO - Vineyards in Rotenberg |
No comments:
Post a Comment